Red Velvet Cake for Valentine’s Day
Highlighted under: Zachte ideeën
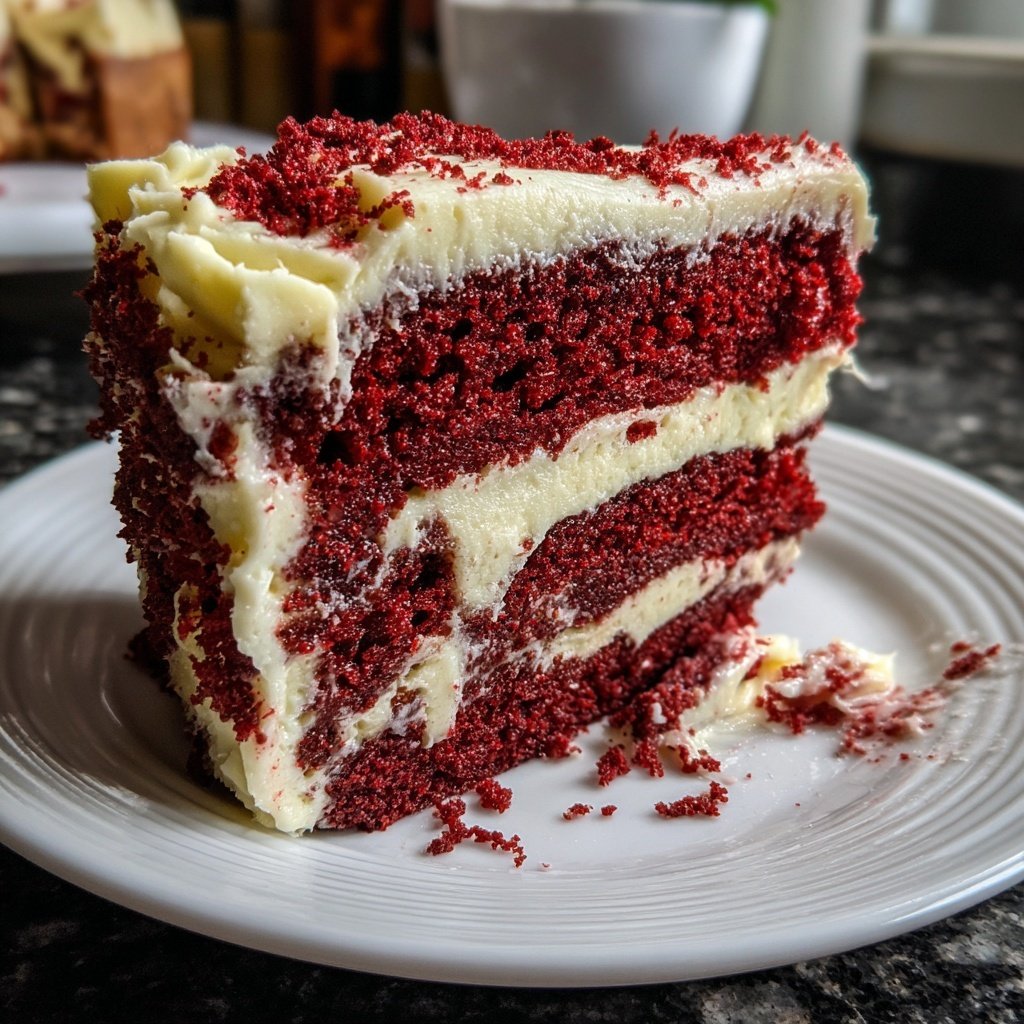
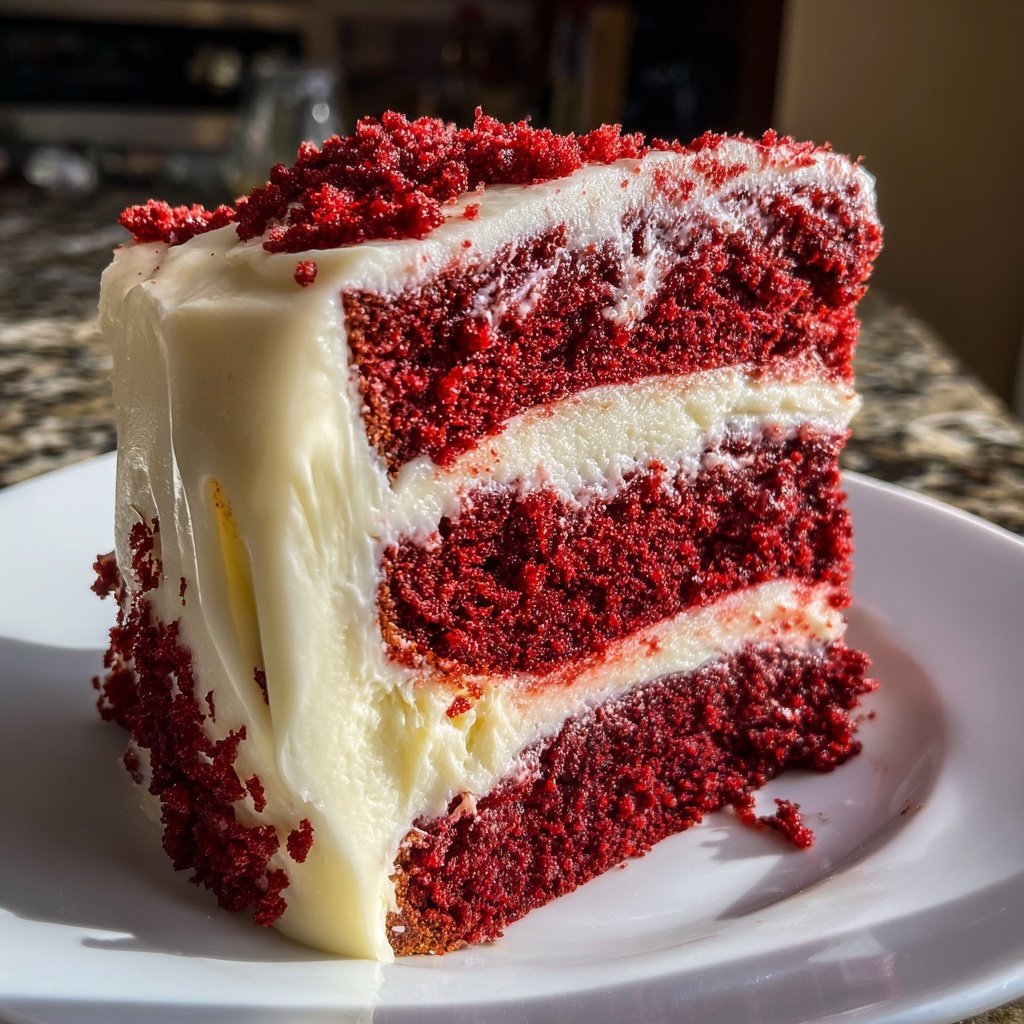
I absolutely love making Red Velvet Cake for Valentine’s Day. The vibrant color and rich, velvety texture make it the perfect treat for any romantic occasion. I enjoy the blend of cocoa and buttermilk that gives this cake its distinct flavor, and when frosted with cream cheese icing, it’s a match made in heaven. This recipe is straightforward, allowing you to create a stunning dessert that is sure to impress anyone you share it with.
When I first attempted this Red Velvet Cake, I was nervous about getting the color just right, but I learned that the key lies in not skimping on the food coloring. The vibrant hue is what makes this cake so special, especially for Valentine’s Day. I remember serving it at a family gathering, and the compliments were endless!
One tip I picked up along the way is to ensure your ingredients are at room temperature before mixing. It really helps to create a creamy, smooth batter, which leads to a light and fluffy texture. Trust me, it makes all the difference when you bite into that luscious slice.
Why You Will Love This Recipe
- Lush, velvety texture that melts in your mouth
- Beautifully vibrant and perfect for romantic occasions
- Rich cocoa flavor balanced with a creamy frosting
The Importance of Buttermilk
Buttermilk is a crucial ingredient in this Red Velvet Cake, as it reacts with the baking soda to create a lighter texture and enhance the cake’s moisture. This tangy ingredient not only contributes to the cake’s rich taste but also helps achieve that perfect velvety crumb. If you find yourself without buttermilk, you can easily make a substitute by mixing 1 cup of milk with 1 tablespoon of lemon juice or vinegar, letting it sit for about 5 minutes before using.
The acidity in buttermilk also balances the sweetness from the sugar and the richness of the oil. For a more unique twist, consider using flavored buttermilks, like a honey or vanilla variant, which can subtly enhance the overall flavor profile of the cake.
Mastering the Cream Cheese Frosting
Cream cheese frosting is the perfect companion to the rich flavors of the Red Velvet Cake, offering a tanginess that is refreshingly balanced against the sweetness of the cake. Ensure your cream cheese and butter are at room temperature before mixing to achieve a smooth, lump-free frosting. It’s beneficial to beat the cream cheese first until fluffy before gradually adding the butter; this step increases the volume and creaminess of the frosting.
If the frosting is too thick after mixing, add milk, one tablespoon at a time, until you reach your desired consistency. If you prefer a less sweet frosting, adjust the powdered sugar amount to your liking, keeping in mind that this will alter the frosting's firmness.
Serving and Storing Your Cake
For the best presentation, slice the Red Velvet Cake with a sharp knife dipped in warm water to ensure clean cuts and showcase the beautiful layers. Serving with a scoop of vanilla ice cream or fresh berries can elevate the dessert experience and enhance the cake’s flavors beautifully.
When it comes to storage, keep the frosted cake covered at room temperature for up to 2 days. For longer storage, refrigerate it, tightly wrapped in plastic wrap, for up to a week. The cake can also be frozen for up to 3 months; just be sure to slice it before freezing for easier thawing later.
Ingredients
For the Cake
- 2 ½ cups all-purpose flour
- 1 ½ cups granulated sugar
- 1 teaspoon baking soda
- 1 teaspoon salt
- 1 teaspoon cocoa powder
- 1 ½ cups vegetable oil
- 1 cup buttermilk, room temperature
- 2 large eggs, room temperature
- 2 tablespoons red food coloring
- 1 teaspoon vanilla extract
- 1 teaspoon white vinegar
For the Frosting
- 8 oz cream cheese, softened
- ½ cup unsalted butter, softened
- 4 cups powdered sugar
- 1 teaspoon vanilla extract
- 2 tablespoons milk (if needed)
Instructions
Steps to Make the Cake
Preheat the Oven
Preheat your oven to 350°F (175°C) and grease two 9-inch round cake pans.
Mix Dry Ingredients
In a bowl, sift together the flour, sugar, baking soda, salt, and cocoa powder.
Combine Wet Ingredients
In a separate bowl, mix the vegetable oil, buttermilk, eggs, food coloring, vanilla extract, and vinegar. Blend well.
Combine Mixtures
Gradually add the dry ingredient mixture to the wet ingredients, stirring until smooth.
Bake the Cakes
Divide the batter evenly between the prepared pans and bake for 30 minutes, or until a toothpick comes out clean.
Cool and Frost
Allow the cakes to cool in the pans for 10 minutes before transferring to a wire rack. Once cooled, frost with cream cheese frosting.
Enjoy Your Cake!
Pro Tips
- For extra flavor, consider adding a teaspoon of almond extract to the batter. It complements the red velvet beautifully!
Troubleshooting Common Issues
If your cake turns out denser than expected, this may be due to overmixing the batter after adding the dry ingredients. It's essential to mix just until no dry flour remains, creating a light batter that will rise nicely in the oven. Observing this can make a substantial difference in your cake’s final texture.
Another common issue is color fading after baking; this can happen if your red food coloring is old or if you use less than what the recipe calls for. Using high-quality food coloring and ensuring it’s fresh can guarantee the vibrant color characteristic of Red Velvet Cake.
Variations to Try
If you want to try something a little different, consider adding chopped nuts or chocolate chips to your batter for added texture. Pecans or walnuts can complement the cake’s flavor beautifully and add a delightful crunch that contrasts nicely with the soft crumb.
For a festive twist, you might create Red Velvet cupcakes instead of a traditional cake. Simply divide the batter into cupcake liners and bake for about 20 minutes. Top with the same cream cheese frosting, and you’ll have charming individual desserts perfect for sharing.
Make-Ahead Tips
If you're looking to get a jump start on your Valentine’s Day baking, both the cake and frosting can be prepared in advance. The cakes can be baked, cooled, and tightly wrapped in plastic wrap, then stored in the freezer for up to 3 months. Allow them to thaw overnight in the refrigerator before frosting.
You can also prepare the cream cheese frosting a day ahead. Just store it in an airtight container in the fridge, and give it a good stir before spreading it on your cake. This makes the day of serving much more enjoyable and allows you time to focus on setting a lovely table for your celebration.
Questions About Recipes
→ Can I use a different type of frosting?
Absolutely! Cream cheese frosting is traditional, but you can use buttercream or ganache for a different twist.
→ How do I store leftover cake?
Store the cake in an airtight container in the fridge for up to 5 days.
→ Can I make this cake ahead of time?
Yes, you can bake the cakes a day in advance and frost them right before serving.
→ What can I substitute for buttermilk?
You can mix 1 cup of milk with 1 tablespoon of vinegar or lemon juice and let it sit for 5 minutes to create a buttermilk substitute.
Red Velvet Cake for Valentine’s Day
Created by: Kendra Lawson
Recipe Type: Zachte ideeën
Skill Level: Intermediate
Final Quantity: 12 servings
What You'll Need
For the Cake
- 2 ½ cups all-purpose flour
- 1 ½ cups granulated sugar
- 1 teaspoon baking soda
- 1 teaspoon salt
- 1 teaspoon cocoa powder
- 1 ½ cups vegetable oil
- 1 cup buttermilk, room temperature
- 2 large eggs, room temperature
- 2 tablespoons red food coloring
- 1 teaspoon vanilla extract
- 1 teaspoon white vinegar
For the Frosting
- 8 oz cream cheese, softened
- ½ cup unsalted butter, softened
- 4 cups powdered sugar
- 1 teaspoon vanilla extract
- 2 tablespoons milk (if needed)
How-To Steps
Preheat your oven to 350°F (175°C) and grease two 9-inch round cake pans.
In a bowl, sift together the flour, sugar, baking soda, salt, and cocoa powder.
In a separate bowl, mix the vegetable oil, buttermilk, eggs, food coloring, vanilla extract, and vinegar. Blend well.
Gradually add the dry ingredient mixture to the wet ingredients, stirring until smooth.
Divide the batter evenly between the prepared pans and bake for 30 minutes, or until a toothpick comes out clean.
Allow the cakes to cool in the pans for 10 minutes before transferring to a wire rack. Once cooled, frost with cream cheese frosting.
Extra Tips
- For extra flavor, consider adding a teaspoon of almond extract to the batter. It complements the red velvet beautifully!
Nutritional Breakdown (Per Serving)
- Calories: 380 kcal
- Total Fat: 26g
- Saturated Fat: 15g
- Cholesterol: 195mg
- Sodium: 85mg
- Total Carbohydrates: 32g
- Dietary Fiber: 3g
- Sugars: 24g
- Protein: 6g